
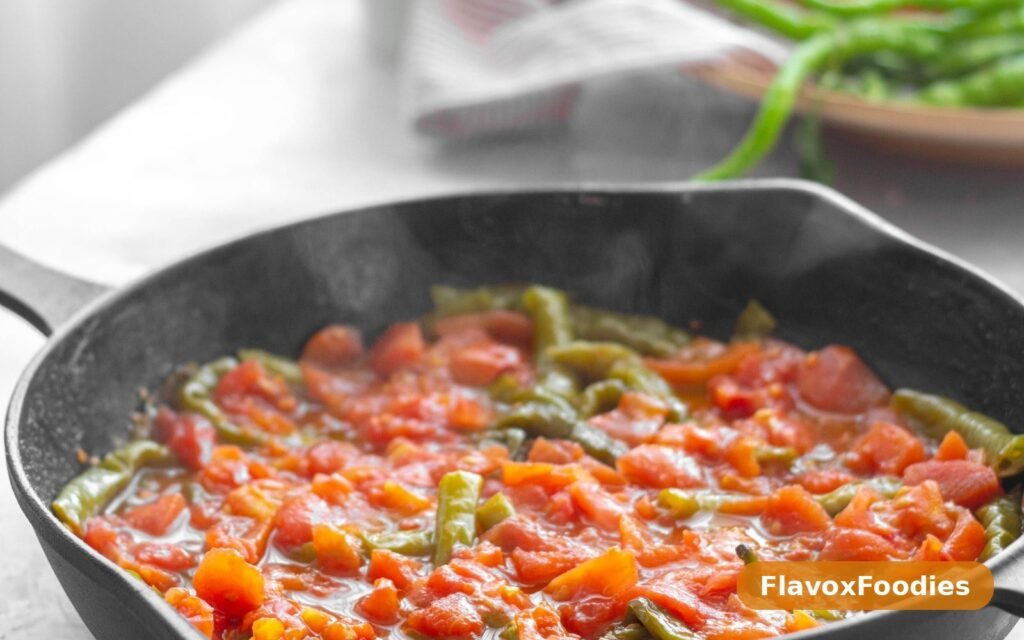

Green beans are one of those vegetables that people either love or tolerate, and the difference almost always comes down to how they are cooked. Boiled into soft submission, they are forgettable. But sauteed properly — bright green, tender-crisp, coated in garlic butter with a squeeze of lemon — they are genuinely delicious. They become the side dish people actually eat instead of pushing around the plate.
This sauteed green beans with garlic recipe is the one I make when I need a vegetable side dish in a hurry. Fifteen minutes from start to finish, one pan, and ingredients I always have. The beans stay crisp, the garlic turns sweet and golden, and a little lemon at the end wakes everything up. It is simple cooking at its best: a few good ingredients, the right technique, and nothing getting in the way.
The method matters more than the recipe. Green beans need high heat and a short cooking time. They need to be dry when they hit the pan, they need room to make contact with the heat, and they need the garlic added late so it does not burn. Get those three things right and you will have green beans that are bright, snappy, and full of flavor every single time.
This is also one of the most versatile side dishes in my kitchen. It goes with roast chicken, grilled steak, baked salmon, pasta, and just about anything else you can think of. It works for a quick weeknight dinner and it works on a holiday table. And it is the kind of dish that converts green bean skeptics — I have watched it happen more than once.
Why You’ll Love This Recipe
First, it is fast. Fifteen minutes, start to finish, including trimming the beans. On a busy night, that matters. You can make the whole side dish while the main course rests, and it will be on the table still sizzling.
Second, the texture is right. These green beans are tender-crisp — cooked through but still with a satisfying snap. That texture is what makes people enjoy green beans instead of enduring them. Overcooked beans are mushy and dull; properly sauteed beans are bright and lively.
Third, the flavor is simple but complete. Garlic, butter, olive oil, salt, pepper, and lemon. That is the whole list, and it is enough. The garlic provides warmth, the butter provides richness, and the lemon provides brightness. Nothing competes, nothing is missing.
Fourth, it is healthy without trying to be. Green beans are naturally low in calories and high in fiber and vitamins, and this recipe does not bury them in heavy sauces or cheese. It is a side dish you can feel good about serving every week.
Ingredients You’ll Need
Here is the short list, with a few notes on getting the best from each ingredient:
- 1 pound fresh green beans — Look for beans that are bright green, firm, and snap cleanly when bent. Avoid beans that are limp, wrinkled, or have brown spots. Thin beans, sometimes sold as haricots verts, cook a little faster and are more tender; regular green beans work just as well.
- 2 tablespoons olive oil — For sauteing. It has a high enough smoke point for the medium-high heat you will use.
- 1 tablespoon butter — Added with the garlic at the end for richness. The combination of olive oil and butter gives you the best of both: the oil handles the heat, the butter brings the flavor.
- 4 cloves garlic, thinly sliced — Sliced garlic, rather than minced, is the right choice here. Slices cook more evenly, are less likely to burn, and look beautiful scattered through the beans. If you prefer minced garlic, add it a little later and watch it closely.
- 1/2 teaspoon salt — Season the beans as they cook, then taste and adjust at the end.
- 1/4 teaspoon black pepper — Freshly ground is best.
- 1/4 teaspoon red pepper flakes (optional) — A small amount adds a gentle warmth without making the dish spicy. Leave it out if you prefer, or add more if you like heat.
- 1 tablespoon lemon juice, freshly squeezed — Added at the very end, off the heat. It brightens the whole dish. Lemon zest is a nice addition too — add it with the juice.
- 1 tablespoon toasted sliced almonds or sesame seeds (optional) — For crunch and a little extra flavor. Toast them in a dry pan first so they are golden and fragrant.
A note on the beans: fresh green beans are essential for this recipe. Frozen green beans can work in a pinch, but they release more water and never get quite as crisp. Canned green beans will not work at all — they are already fully cooked and too soft for sauteing. If fresh beans are not available, choose a different side dish rather than forcing this one with the wrong ingredient.
How to Make Sauteed Green Beans with Garlic
Start by trimming the green beans. Snap or cut off the stem end of each bean — the end that was attached to the plant. The tail end is fine to leave on, though you can trim it too if you like. The fastest way to do this is to line up a handful of beans on the cutting board, even up the ends, and cut them all at once. It takes about three minutes for a pound of beans.
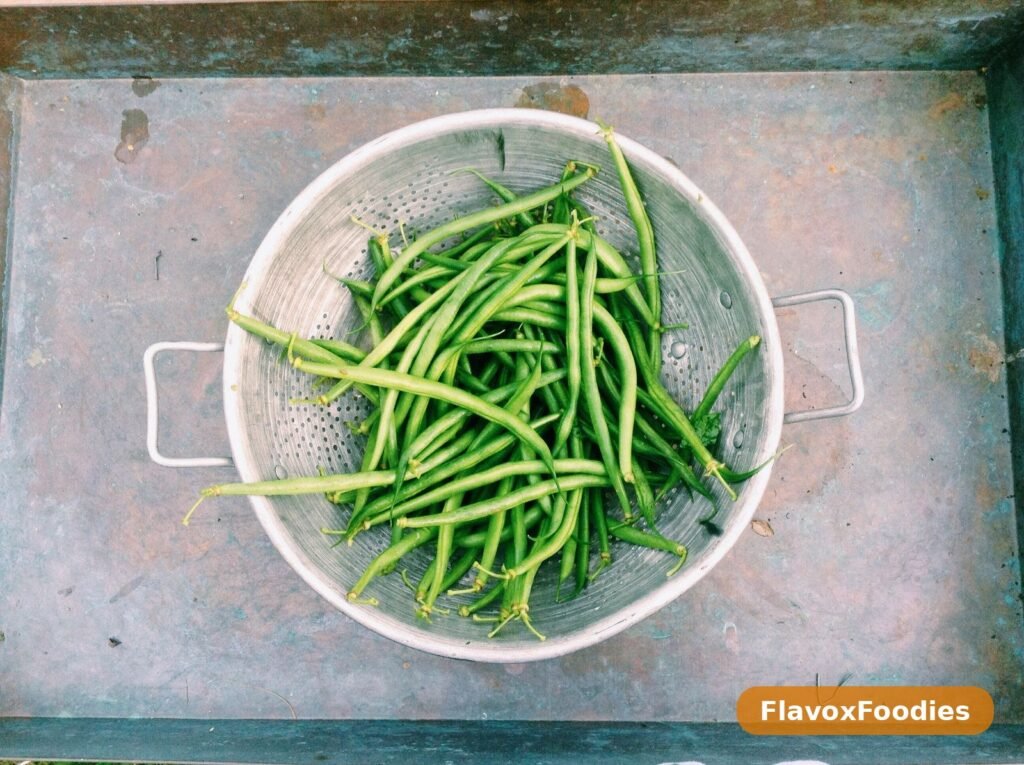
Wash the beans and dry them thoroughly. This is the most important prep step. Wet beans will steam in the pan instead of sauteing, and steaming gives you soft, dull beans instead of bright, crisp ones. Pat them dry with a clean kitchen towel or paper towels, or let them air-dry in a colander for a few minutes while you prepare the garlic.
Heat the olive oil in a large skillet over medium-high heat. The pan needs to be hot before the beans go in — you should see the oil shimmer slightly. A large skillet matters here: if the beans are crowded, they steam instead of sear. Use the biggest pan you have, and if your pan is small, cook the beans in two batches. It is worth the extra few minutes.
Add the green beans to the hot pan in a single layer as much as possible. Let them cook undisturbed for two to three minutes so they develop a little color and a few lightly charred spots. Those charred spots are flavor — they add a subtle smokiness that makes the beans taste like they came off a grill. Then stir or toss them and cook for another three to four minutes, stirring occasionally, until they are bright green and tender-crisp. The exact time depends on the thickness of your beans. Taste one to check: it should be cooked through but still have a snap.
Now push the beans to one side of the pan and add the butter to the empty space. When the butter melts and starts to foam, add the sliced garlic and the red pepper flakes if you are using them. Cook the garlic for about 30 to 60 seconds, stirring constantly, until it is fragrant and just starting to turn golden. Garlic goes from perfect to burnt very quickly, so stay at the stove and watch it. The moment it smells wonderful and looks pale gold, toss the beans through the garlic butter so everything is coated.
Remove the pan from the heat immediately. Squeeze the lemon juice over the beans and toss again. The lemon juice will sizzle and steam a little — that is fine. Season with salt and pepper, taste a bean, and adjust the seasoning if needed. If you are using toasted almonds or sesame seeds, sprinkle them over the top now.
Transfer the beans to a serving dish right away. Green beans continue to cook from residual heat, and leaving them in the hot pan will soften them past tender-crisp. Serve immediately while they are hot, bright, and at their best.
Tips for Perfect Green Beans
The difference between good sauteed green beans and great ones comes down to technique. First, dry the beans completely before they hit the pan. I have said it before, but it is the single most impactful step. Wet beans steam. Dry beans sear.
Second, use a hot pan and do not crowd it. The beans need direct contact with hot oil to develop color and flavor. If the pan is too full, the beans on the bottom steam in their own moisture. A big skillet or a wok works best. If you only have a medium pan, cook in two batches — the second batch only takes five minutes.
Third, do not overcook them. Green beans are at their best when they are tender-crisp. Start tasting at five minutes and pull them off the heat as soon as they are done. Remember that they keep cooking for a minute or two after they leave the pan, so it is better to undercook them slightly than to overcook them.
Fourth, add the garlic late. Garlic burns easily at high heat, and burnt garlic is bitter. By adding it in the last minute with the butter, you get all the flavor without any bitterness. Sliced garlic is more forgiving than minced garlic, so use slices if you are worried about burning it.
Fifth, season at the end. Salt draws moisture out of vegetables, so salting the beans at the very start can make them release water into the pan. Season lightly during cooking if you like, but do the final seasoning after the beans are done, when you can taste and adjust accurately.
One more trick: if your beans are thick or you prefer them more tender, you can blanch them first. Drop them in boiling salted water for two minutes, then plunge them into ice water to stop the cooking. Drain and dry them thoroughly, then saute as directed — they will need only three to four minutes in the pan. This is an extra step, but it guarantees evenly cooked beans and a bright green color. For more on getting green beans right, Serious Eats explains how to cook green beans properly, including blanching times.
Variations to Try
This recipe is a base that welcomes all kinds of variations. Here are some favorites:
Asian-inspired version: Swap the butter for sesame oil, add a tablespoon of soy sauce with the garlic, and finish with sesame seeds and a drizzle of rice vinegar instead of lemon. Add a little grated ginger with the garlic for extra warmth.
Mediterranean version: Add a handful of cherry tomatoes to the pan for the last two minutes of cooking, and finish with crumbled feta and a sprinkle of oregano. The tomatoes soften just enough to release their juices, which mix with the garlic butter beautifully.
Bacon version: Cook three or four slices of chopped bacon in the pan first, remove the bacon and leave the drippings, then saute the beans in the bacon fat. Stir the crispy bacon back in at the end. It is indulgent and wonderful.
Mushroom version: Saute sliced mushrooms in the pan for a few minutes before adding the beans. The mushrooms add an earthy depth that pairs perfectly with the garlic.
Parmesan version: Toss the finished beans with a few tablespoons of finely grated parmesan. The cheese melts slightly on the hot beans and adds a salty, savory finish — a natural partner to garlic parmesan roasted potatoes on the same plate.
Herb version: Add fresh thyme or rosemary with the garlic. The herbs infuse the butter and give the beans a fragrant, woodsy note that is lovely with roast meats.
Serving Ideas
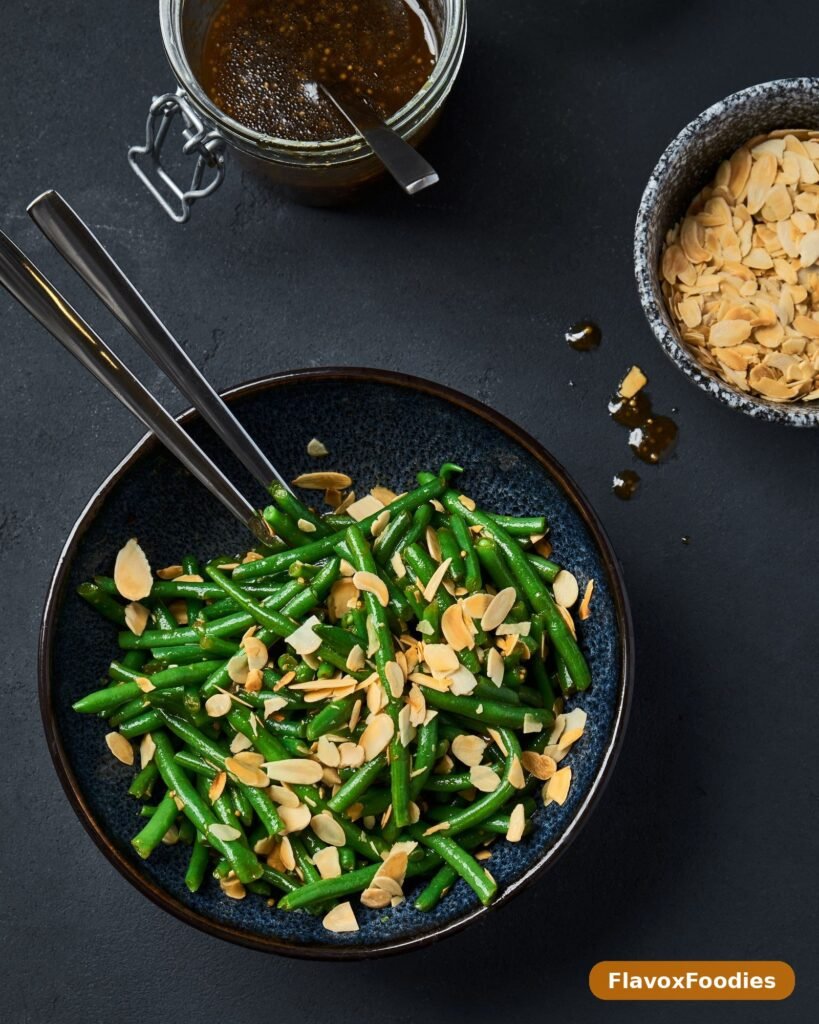
Sauteed green beans with garlic go with almost everything, which is why they are in such heavy rotation in my kitchen. Here are the pairings I come back to most:
With chicken, they are a natural fit. Serve them alongside garlic butter chicken breast with mushrooms for a dinner that feels polished without any extra effort, or with a simple roast chicken and some crusty bread. The garlicky beans echo the flavors of most chicken dishes.
With beef or pork, they provide a fresh, bright contrast to rich meat. A steak, a pork chop, or a slow-cooked roast all benefit from something green and crisp on the plate. The lemon in the beans cuts through the richness and keeps the meal from feeling heavy.
With fish, they are light enough not to overwhelm delicate flavors. Baked salmon, grilled cod, or shrimp all pair beautifully with garlicky green beans. Try them with one-pan creamy garlic shrimp pasta — the beans add a fresh vegetable to a rich, creamy main.
With pasta, they work as a side or as part of the dish itself. Toss a handful of the finished beans directly into a pasta with olive oil and parmesan, or serve them alongside a tomato pasta for a complete meal.
On a holiday table, they are a welcome change from heavy casseroles. A big bowl of bright green beans with garlic looks beautiful next to a roast, and it gives guests a fresh option among the richer dishes. They are also easy to scale up — just use a bigger pan or cook in batches.
For a vegetarian meal, serve them with rice, a fried egg, and a piece of crusty bread, or alongside a grain bowl. The beans are hearty enough to anchor the plate, especially with the toasted almonds for extra substance. Pair them with creamy coleslaw with apple for a fresh, crunchy, colorful vegetarian spread.
Storage and Reheating
Leftover sauteed green beans keep in the refrigerator for three to four days in an airtight container. They will lose some of their crispness over time, but the flavor stays good. They are actually quite nice cold the next day, tossed into a salad or eaten straight from the container as a snack.
To reheat, use a skillet over medium heat for two to three minutes, or the microwave for about a minute. The skillet method preserves more of the texture. Avoid overcooking them when reheating — you just want them warm, not cooked again.
You can also repurpose leftovers. Chop cold green beans and toss them into a pasta salad, a grain bowl, or an omelet. They add color, crunch, and flavor to all kinds of dishes, and it is a good way to make sure nothing goes to waste.
Do not freeze sauteed green beans. The texture does not survive freezing — they turn soft and watery when thawed. This is a dish best made fresh and eaten within a few days. The good news is that it is so quick to make that there is rarely a reason to freeze it.
As with all cooked vegetables, do not leave green beans sitting at room temperature for more than two hours. Refrigerate leftovers promptly. The USDA food safety guidelines are straightforward on this, and it is an easy habit to keep.
Frequently Asked Questions
Should I blanch the green beans first?
It is not necessary, but it helps if your beans are thick or you want a guaranteed bright green color and even cooking. Blanch for two minutes in boiling salted water, then plunge into ice water, drain, and dry thoroughly before sauteing. Thin beans do not need blanching — they cook quickly enough in the pan.
Why did my garlic burn?
Garlic burns when it is added too early or the heat is too high. In this recipe, the garlic goes in during the last minute of cooking, with the butter, over medium heat. If your garlic still burns, try slicing it thicker, lowering the heat slightly, or adding a splash of water to the pan to cool it down quickly.
Can I use frozen green beans?
You can, but the result will be different. Frozen beans release more water and do not get as crisp. If you use them, thaw and dry them thoroughly first, and use a very hot pan. Fresh beans are strongly recommended for this recipe.
How do I know when the green beans are done?
Taste one. It should be tender enough to bite through easily but still have a crisp snap. The color should be bright green, not dull or olive. If the beans are still squeaky and raw-tasting, give them another minute. If they are limp and olive-colored, they are overcooked.
Can I make this ahead of time?
You can trim the beans a day ahead and store them in the refrigerator in a bag or container. The dish itself is best cooked fresh — it only takes fifteen minutes. If you need to make it ahead for a gathering, cook the beans slightly underdone, then reheat them quickly in a hot skillet just before serving.
What can I use instead of lemon juice?
A splash of white wine vinegar or apple cider vinegar works well. You want something acidic to brighten the dish. In a pinch, a squeeze of lime juice is fine too, though the flavor is a little different.
Sauteed green beans with garlic is one of those recipes that proves simple food can be the best food. Fifteen minutes, one pan, a handful of ingredients, and a side dish that people genuinely enjoy. It is the recipe I reach for on busy nights, the one I serve to guests without a second thought, and the one that makes green beans something to look forward to rather than something to get through. Once you have made it this way, you will never boil green beans again.