
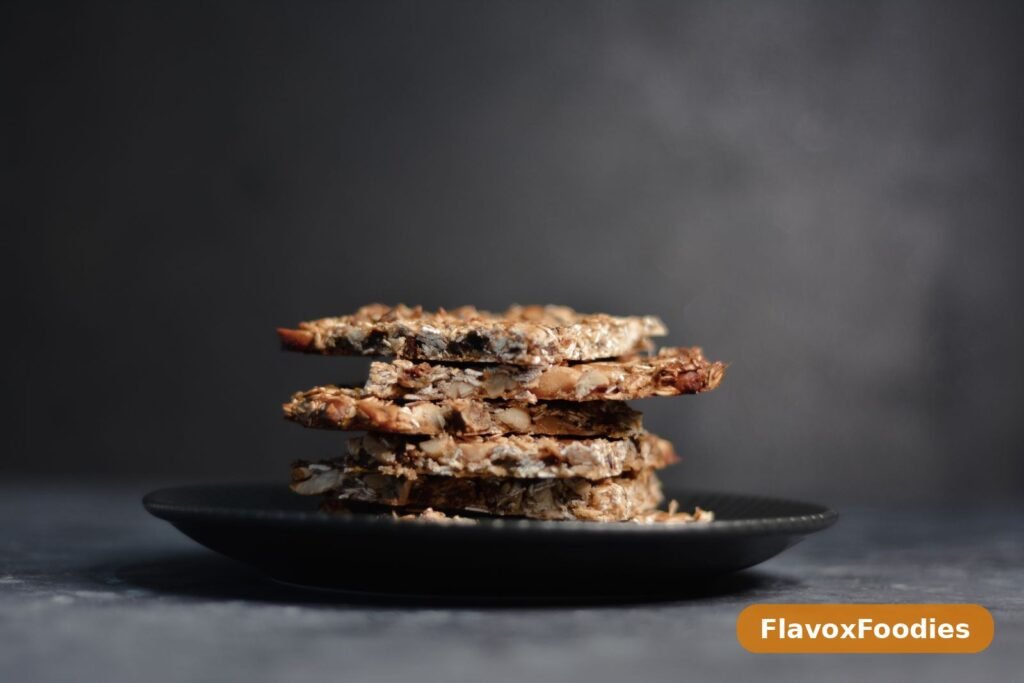

Peanut butter oatmeal bars are the kind of recipe that quietly becomes a household staple. They are not fancy, they do not need frosting or decoration, and they will never win a prize for looking elegant. But they are the bars you reach for when you need something filling for a lunchbox, something quick before a morning walk, or something sweet with a cup of tea in the afternoon. They are chewy, nutty, gently sweet, and they keep well, which is a combination that is hard to beat.
What makes these bars work is the balance between the peanut butter and the oats. The peanut butter gives them richness and flavour, and it also acts as a binder, holding the bars together without needing a lot of eggs or butter. The oats give them body and a chewy texture, and they make the bars feel substantial rather than like a piece of candy. A little honey adds sweetness and helps the bars set, brown sugar adds a hint of caramel, and a pinch of salt keeps the whole thing from tasting flat.
These bars are baked, not no-bake, and that matters. Baking them for a short time in the oven sets the edges, deepens the flavour, and gives the bars a firmer texture that holds up in a bag or a lunchbox. No-bake bars have their place, but they tend to be soft and crumbly, and they need to be kept cold. Baked bars are sturdier, they travel better, and they taste more like a proper baked treat.
They are also easy to adapt. You can add chocolate chips, raisins, chopped nuts, or a swirl of jam. You can make them with crunchy or smooth peanut butter, with honey or maple syrup, and with a drizzle of melted chocolate on top if you want to dress them up. The base recipe is simple and forgiving, and once you have made it a few times you will start to make it your own without even thinking about it.
Why You Will Love These Peanut Butter Oatmeal Bars
First, they are quick. The batter takes about ten minutes to mix, the bars bake in twenty minutes, and they need about half an hour to cool before you slice them. From start to finish, you are looking at about an hour, most of which is waiting. There is no chilling, no rolling, and no complicated technique. It is a one-bowl recipe, and that is exactly what a weekday bake should be.
Second, they are filling. Oats and peanut butter are both satisfying foods, and a single bar will keep you going for a few hours in a way that a biscuit will not. That makes them a good choice for breakfast on a busy morning, for a snack after exercise, or for a lunchbox. They are sweet enough to feel like a treat, but substantial enough to count as food.
Third, they keep well. Unlike a cake that dries out or a cookie that goes soft, these bars stay chewy for several days at room temperature, and they freeze beautifully. You can bake a batch on Sunday and have snacks ready for the whole week, which is a small act of kindness to your future self. If you bake regularly, you will come to appreciate recipes that work this hard for you.
Ingredients for Peanut Butter Oatmeal Bars
You will need a 9 by 9 inch square baking tin, about 23 by 23 cm, lined with baking paper so the bars lift out easily. Leave paper overhanging two sides to use as handles. If you only have a 9 by 13 inch tin, the bars will be thinner and will bake faster, so check them after fifteen minutes.
- 120 g unsalted butter, about 1/2 cup, melted
- 200 g smooth peanut butter, about 3/4 cup
- 150 g light brown sugar, about 3/4 cup
- 60 ml honey, about 1/4 cup
- 2 large eggs, at room temperature
- 1 teaspoon pure vanilla extract
- 150 g plain flour (all-purpose flour), about 1 1/4 cups
- 180 g rolled oats, about 2 cups
- 1 teaspoon baking powder
- 1/2 teaspoon bicarbonate of soda (baking soda)
- 1/2 teaspoon fine salt
- 100 g chocolate chips, about 2/3 cup, optional but recommended
- Optional, for the top: extra chocolate chips and a pinch of flaky sea salt
Use a regular commercial peanut butter, the kind that is smooth and spreadable straight from the jar, rather than a natural peanut butter that separates. Natural peanut butter can work, but it is oilier and the bars may be softer and more crumbly. If you only have natural peanut butter, stir it very well and reduce the melted butter by a tablespoon to compensate for the extra oil.
Rolled oats are the right choice here, just as they are for apple crisp. They give the bars a chewy texture and hold their shape during baking. Instant oats will make the bars softer and less textured, and steel-cut oats will stay hard. If you enjoy oat bakes, our small-batch oatmeal cookies use the same oats in a smaller, crisper form.
How to Make Peanut Butter Oatmeal Bars
Preheat your oven to 175°C (350°F) and line your square tin with baking paper. In a large bowl, whisk together the melted butter, peanut butter, brown sugar, and honey until smooth. The mixture will be thick and glossy. Add the eggs, one at a time, whisking well after each one, then stir in the vanilla extract. The batter should look smooth and creamy, with no streaks of egg visible.
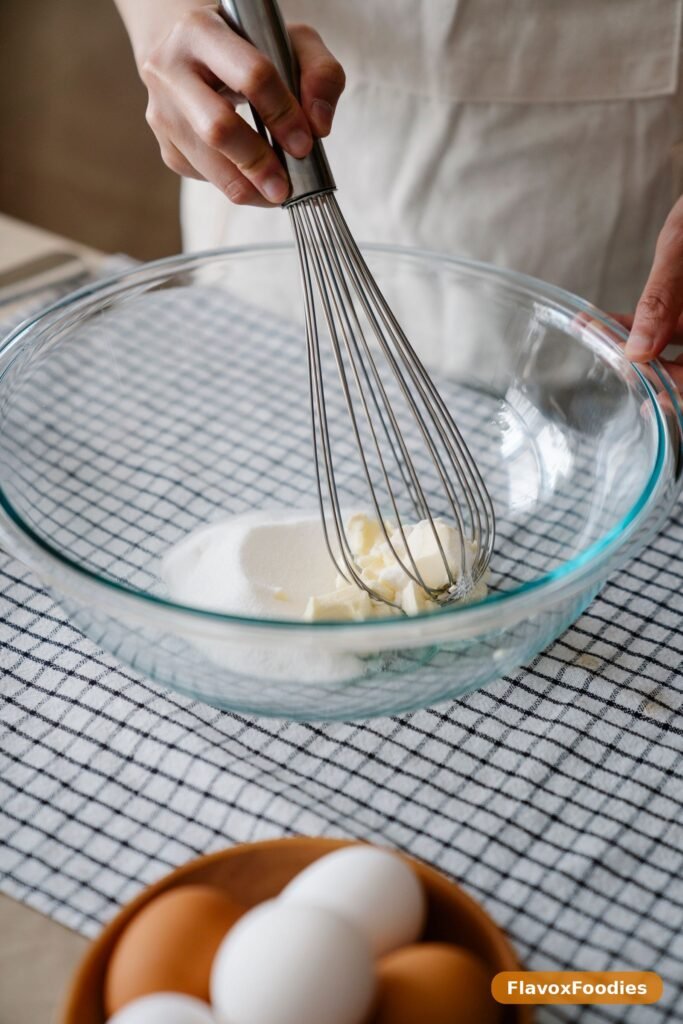
In a separate bowl, whisk together the flour, rolled oats, baking powder, bicarbonate of soda, and salt. Tip the dry ingredients into the wet ingredients and stir with a spatula or wooden spoon until just combined. The batter will be thick and sticky, much thicker than a cake batter. That is normal. Fold in the chocolate chips with a few gentle strokes, saving a small handful to scatter over the top if you like.
Scrape the batter into the prepared tin and press it into an even layer. Because the batter is sticky, it helps to wet your fingers or the back of a spoon lightly with water before pressing it down. Try to get the batter into the corners and level across the top, so the bars bake evenly. Scatter the reserved chocolate chips over the top and press them in very gently.
Bake for 20 to 25 minutes, until the edges are set and lightly golden and the centre looks set but still slightly soft. The bars will firm up as they cool, so do not wait until the centre feels completely firm in the oven, or the bars will be dry. A toothpick pushed into the centre should come out with a few moist crumbs but no wet batter.
Let the bars cool in the tin for at least thirty minutes, then lift them out using the paper handles and set them on a wire rack or a chopping board. Let them cool completely before slicing, if you can. Warm bars are delicious, but they are soft and will fall apart when you cut them. Once cool, slice into sixteen bars with a sharp knife, wiping the blade between cuts for neat edges. If you like a salty-sweet finish, sprinkle a little flaky sea salt over the top before the bars set.
Tips for the Best Peanut Butter Oatmeal Bars
Do not overbake them. This is the most important tip for these bars. They should look slightly underdone in the centre when you take them out of the oven, because they will continue to cook in the hot tin and firm up as they cool. If you bake them until the centre feels firm, they will be dry and crumbly by the time they are cool. Start checking at twenty minutes, and take them out as soon as the edges are set.
Let them cool fully before slicing. It is tempting to cut into them while they are warm, and a warm bar eaten with a spoon is a lovely thing. But for neat, portable bars, you need to wait. The peanut butter and honey need time to set, and the oats need time to absorb moisture from the batter. Thirty minutes in the tin, then a further fifteen minutes out of it, is about right. If you are in a hurry, you can put the tin in the fridge for fifteen minutes to speed things up.
Measure the peanut butter properly. Peanut butter is sticky and hard to measure accurately in a cup, so use a scale if you have one. Two hundred grams is the right amount. If you add too much, the bars will be greasy and soft; if you add too little, they will be dry and will not hold together. A kitchen scale takes the guesswork out of sticky ingredients like peanut butter and honey.
Use room-temperature eggs. Cold eggs can make the melted butter seize up into little flecks, and they do not mix as smoothly into the batter. If you have forgotten to take the eggs out, put them in warm water for five minutes. It is a small step, but it makes the batter smoother and the bars more even.
Line the tin properly. Baking paper with overhanging edges is not just a convenience; it is what lets you lift the whole slab of bars out of the tin in one piece and slice them cleanly. Without it, you will be trying to cut bars in the tin and digging out the first few with a spatula. Grease the tin lightly before lining it, so the paper stays in place while you press the batter in.
Variations to Try
For a chocolate version, replace two tablespoons of the flour with cocoa powder and use dark chocolate chips. The bars will taste richer and more like a brownie, while still keeping the chewy oat texture. A drizzle of melted chocolate over the cooled bars makes them look like something from a bakery.
For a jam-swirl version, spread the batter in the tin, then spoon teaspoons of raspberry or strawberry jam over the top and drag a knife through it to make swirls. Peanut butter and jam is a classic combination for a reason, and it works beautifully in a baked bar. Use a thick jam rather than a runny one, so it does not sink into the batter.
For a nutty version, add a handful of chopped peanuts, pecans, or almonds to the batter along with the chocolate chips. Toast the nuts lightly first, so they stay crisp. For a fruit version, replace the chocolate chips with raisins or dried cranberries, and add a pinch of cinnamon to the dry ingredients. The result is a bar that tastes a little like a flapjack, but with the richness of peanut butter.
For a dairy-free version, replace the butter with coconut oil or a dairy-free spread, and use dairy-free chocolate chips. The bars will be just as chewy. For a slightly less sweet version, reduce the brown sugar by two tablespoons and add an extra tablespoon of peanut butter. The bars will be a little less sweet and a little more nutty, which some people prefer. If you like small-batch baking, our small-batch chocolate chip cookies without brown sugar are another recipe that lets you adjust the sweetness to your taste.
Serving Ideas

The simplest way to serve these bars is as they are, at room temperature, with a cup of coffee or tea. They are a good afternoon snack, a lunchbox treat, or a quick breakfast when you are in a hurry. They are also good crumbled over vanilla ice cream or Greek yoghurt, where the chewy texture adds interest to something soft and cold.
For a more dressed-up dessert, warm a bar for ten seconds in the microwave and serve it with a scoop of vanilla ice cream and a drizzle of chocolate sauce. It tastes like a warm cookie, but it is easier to make in a batch. For a children’s party, cut the bars into smaller squares and arrange them on a plate with some fresh fruit. They are easy to hold, they do not crumble everywhere, and children tend to love them.
These bars also make a good gift. Wrap a few in baking paper, tie them with string, and give them to a neighbour, a teacher, or a friend who has just had a baby. Homemade bars are a kind gift because they are practical; they keep well, they travel well, and they are ready to eat. If you bake them often, you will find yourself making a double batch without thinking about it.
Storage and Freezing
Store the bars in an airtight container at room temperature for up to five days. They will stay chewy and moist, thanks to the peanut butter and honey. If your kitchen is very warm, store them in the fridge, but bring them back to room temperature before eating, because cold bars are firmer and less flavourful.
To freeze the bars, let them cool completely, then wrap them individually in cling film and put them in a freezer bag or container. Freeze for up to three months. Thaw a bar at room temperature for about an hour, or in the fridge overnight. Frozen bars are also good straight from the freezer on a hot day, eaten like a chewy ice lolly, though that is not an official serving suggestion. For more on storing baked goods, BBC Good Food has practical advice that applies to bars as well as cakes.
Frequently Asked Questions
Can I use crunchy peanut butter instead of smooth?
Yes, crunchy peanut butter works well and adds extra texture to the bars. The bars will be a little more rustic, with small pieces of peanut throughout. Use the same weight, 200 grams, and follow the recipe as written. Some people prefer crunchy peanut butter for exactly this reason. If you use a natural crunchy peanut butter, stir it well first, because the oil separates and the peanuts sink to the bottom of the jar. For another recipe that works with either smooth or crunchy peanut butter, try our small-batch cookies without eggs, which are flexible about add-ins.
Why did my bars fall apart when I sliced them?
Bars usually fall apart because they were sliced while still warm, or because they were underbaked. Let the bars cool completely before slicing, and make sure the centre is set when you take them out of the oven. A toothpick should come out with moist crumbs, not wet batter. If the bars are still crumbly when cool, you may have used too little peanut butter or honey, which are the binders that hold the bars together. Weighing your ingredients will help. A sharp knife and a gentle sawing motion also help; pressing down hard can crush the bars.
Can I make these bars without eggs?
Yes, you can replace the two eggs with two flax eggs, made by mixing two tablespoons of ground flaxseed with six tablespoons of water and leaving it for ten minutes to thicken. The bars will be a little denser and chewier, but they will hold together well. You can also use a mashed banana, though it will add a banana flavour. If you bake without eggs often, Serious Eats has a clear guide to egg substitutes and how each one behaves in baking.
How do I know when the bars are done?
The edges should be set and lightly golden, and the centre should look set but still slightly soft when you gently shake the tin. A toothpick pushed into the centre should come out with a few moist crumbs but no wet batter. The bars will firm up as they cool, so take them out when they look just done rather than waiting until they feel firm. If the edges are browning too quickly, cover the tin loosely with foil for the last five minutes.
Can I double the recipe?
Yes, you can double the recipe and bake it in a 9 by 13 inch tin. The bars will be the same thickness as the original, and the baking time will be about the same, 22 to 28 minutes. Do not double the recipe in the same 9 by 9 inch tin, because the bars will be too thick and the centre will not cook through. A double batch is a good idea if you are baking for a crowd or stocking the freezer, because the bars freeze so well.
Are these bars healthy?
These bars are made with oats and peanut butter, which are nutritious ingredients, but they also contain sugar, honey, and butter, so they are best thought of as a treat rather than a health food. They are more filling and more satisfying than a biscuit or a piece of cake, and they are a better choice than many packaged snack bars, because you know exactly what is in them. If you want a lighter version, reduce the sugar slightly and use dark chocolate chips. For more on oats and their nutritional benefits, our air fryer chocolate chip cookies are not a health food either, but they show how a small, well-made treat can be part of a balanced week.